快速搭建文档网站:使用Docsify的简明教程 2024-03-08 默认分类 暂无评论 379 次阅读 ## 快速搭建文档网站:使用Docsify的简明教程 ## 1. docsify介绍 Docsify turns one or more Markdown files into a Website, with no build process required. Docsify 将一个或多个 Markdown 文件转换为网站,无需构建过程。 - No statically built html files 没有静态构建的 html 文件 - Simple and lightweight 简单轻便 - Smart full-text search plugin 智能全文搜索插件 - Multiple themes 多个主题 - Useful plugin API 有用的插件 API - Support embedded files 支持嵌入式文件 ## 2. 相关链接 - docsify Github:https://github.com/docsifyjs/docsify - docsify 官网:https://docsify.js.org/ - docsify中文文档:https://docsify.js.org/#/zh-cn// ## 3. 快速开始 ### 3.1 安装npm(省略) ### 3.2 本地安装docsify 全局安装docsify ```bash npm i docsify-cli -g ``` ### 3.3 创建项目 首先使用命令行工具,进去要创建项目的文件路径中 <img src="https://cdn.jsdelivr.net/gh/plfish199/picx-images-hosting/Docsify文档网站/2024-03-06-13-47-14-image.58h42iinjl.webp" title="" alt="" width="701"> 初始化项目 ```bash docsify init ./docs ``` ### 3.4 项目目录 - `index.html` 入口文件 - `README.md` 会做为主页内容渲染 - `.nojekyll` 用于阻止 GitHub Pages 忽略掉下划线开头的文件 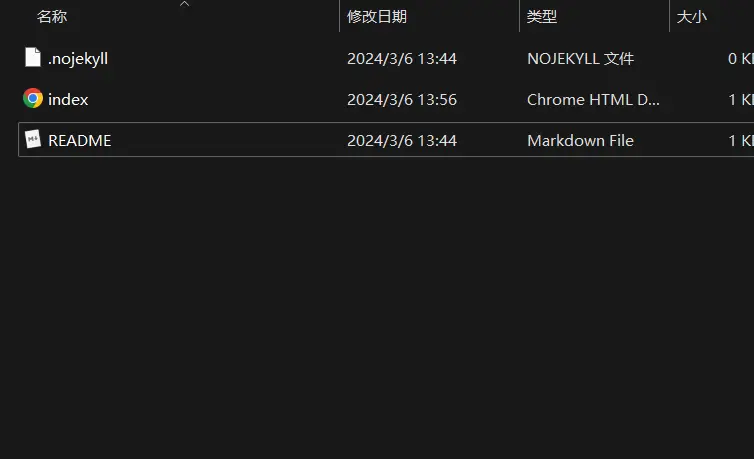 我此处修README文件作为演示,我将我博客的一篇文章copy过来。 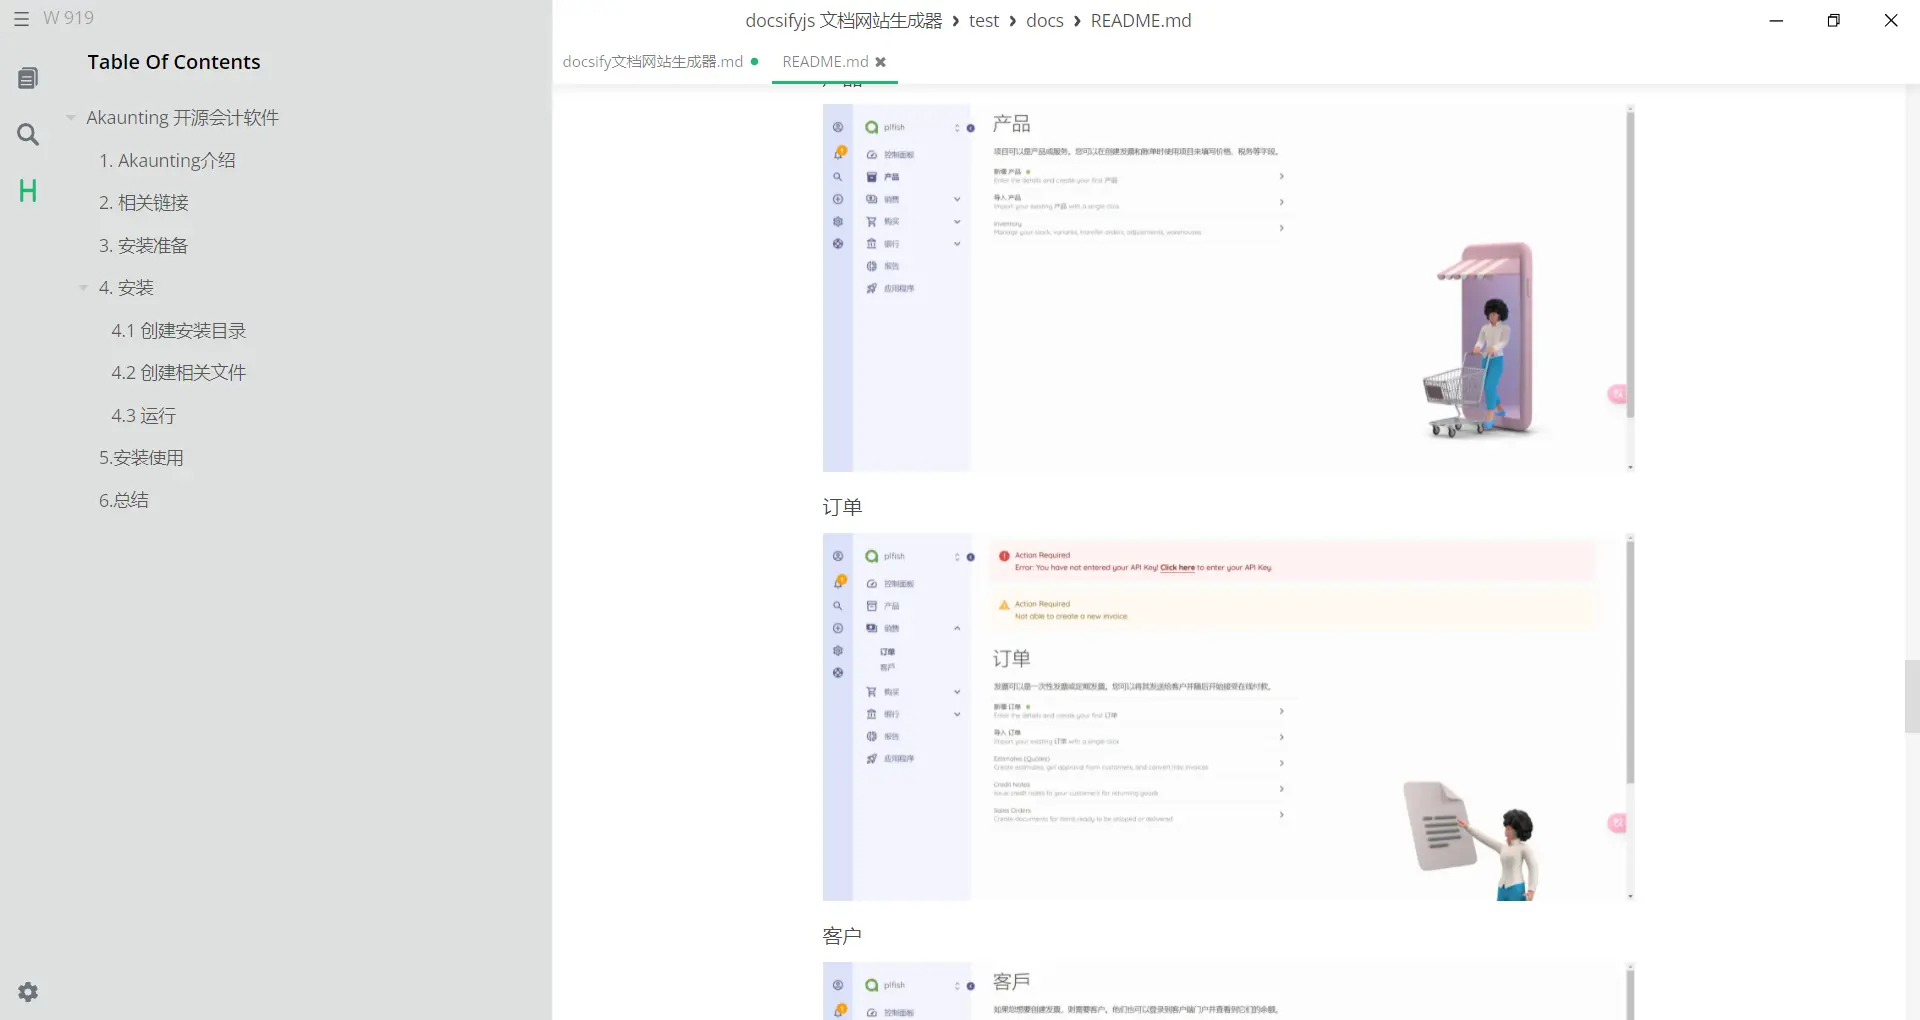 ### 3.5 本地运行测试 ```bash docsify serve docs ``` 访问http://localhost:3000进行查看 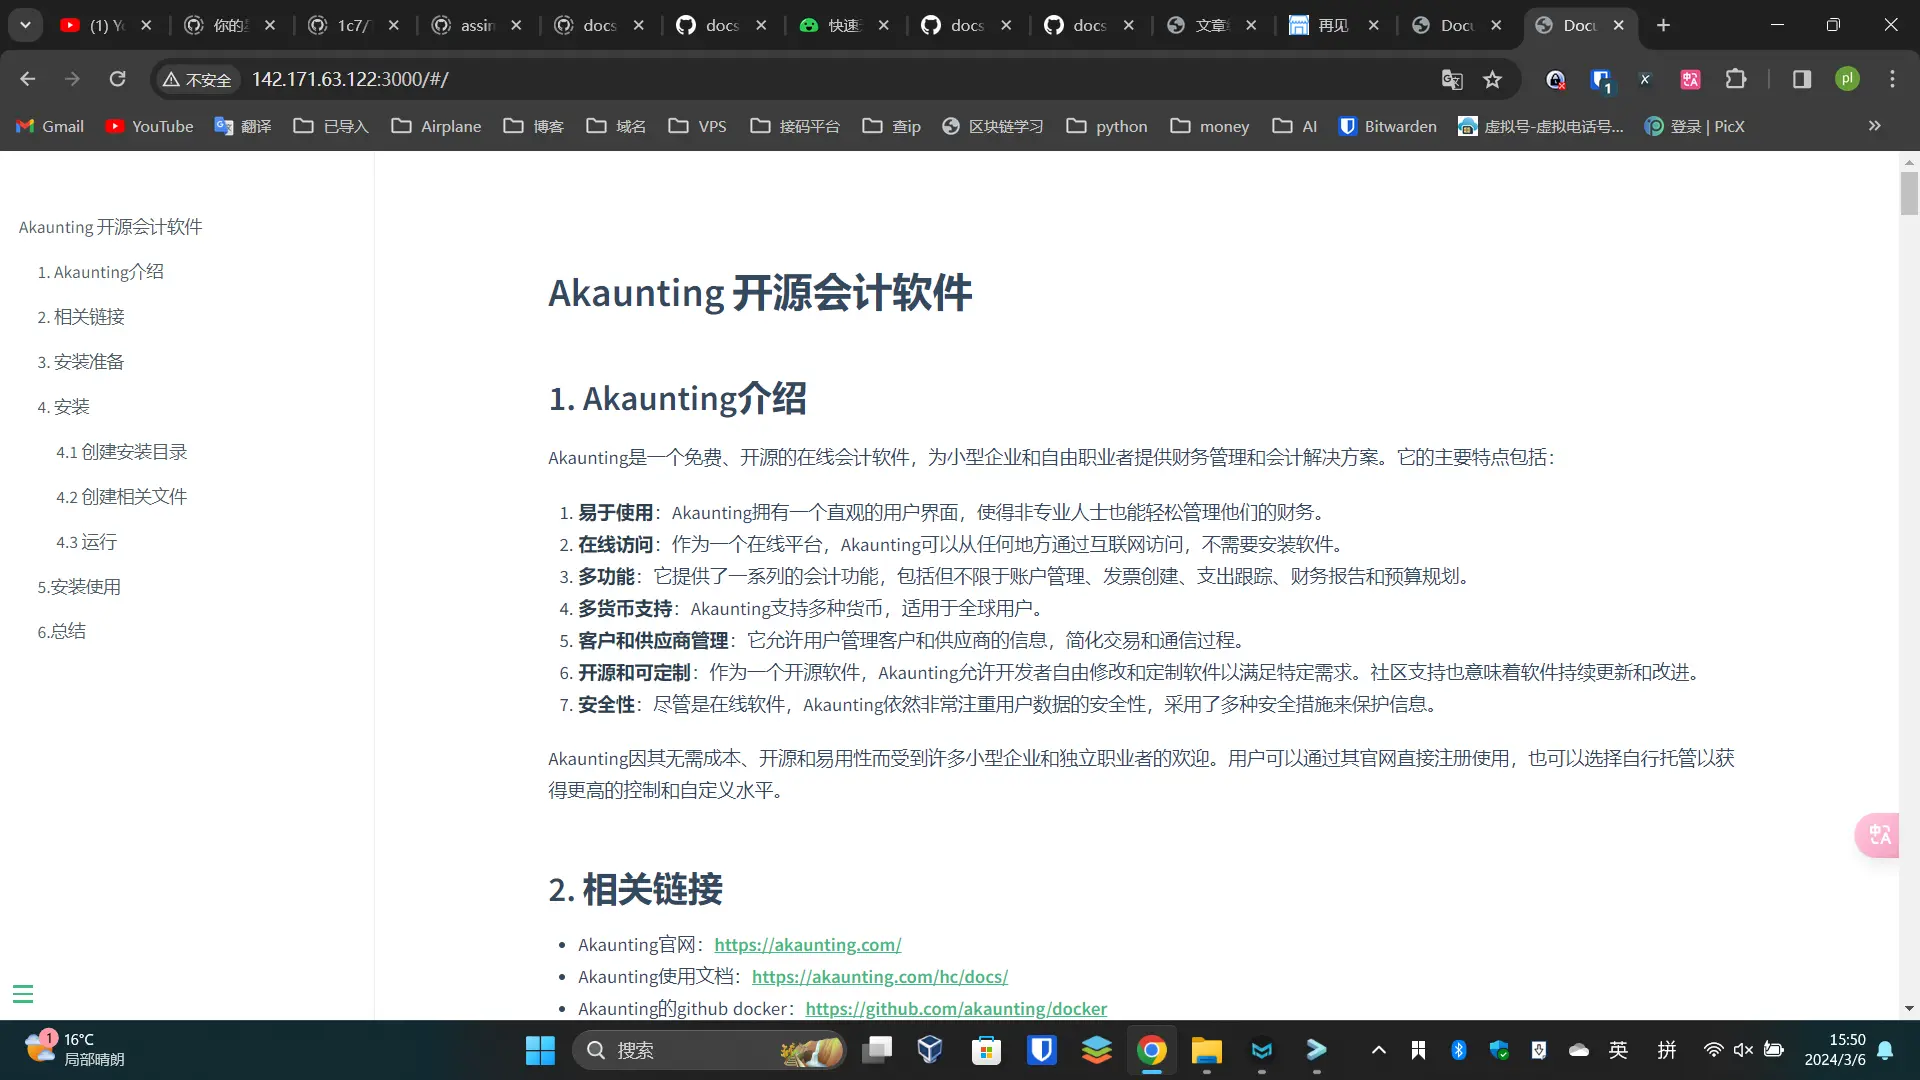 ## 4.VPS(服务器中运行测试) 可以自己去构建docker进行运行,也可以自行安装docsify服务。本人这里采用安装docsify服务进行测试。 ### 4.1 上传文件 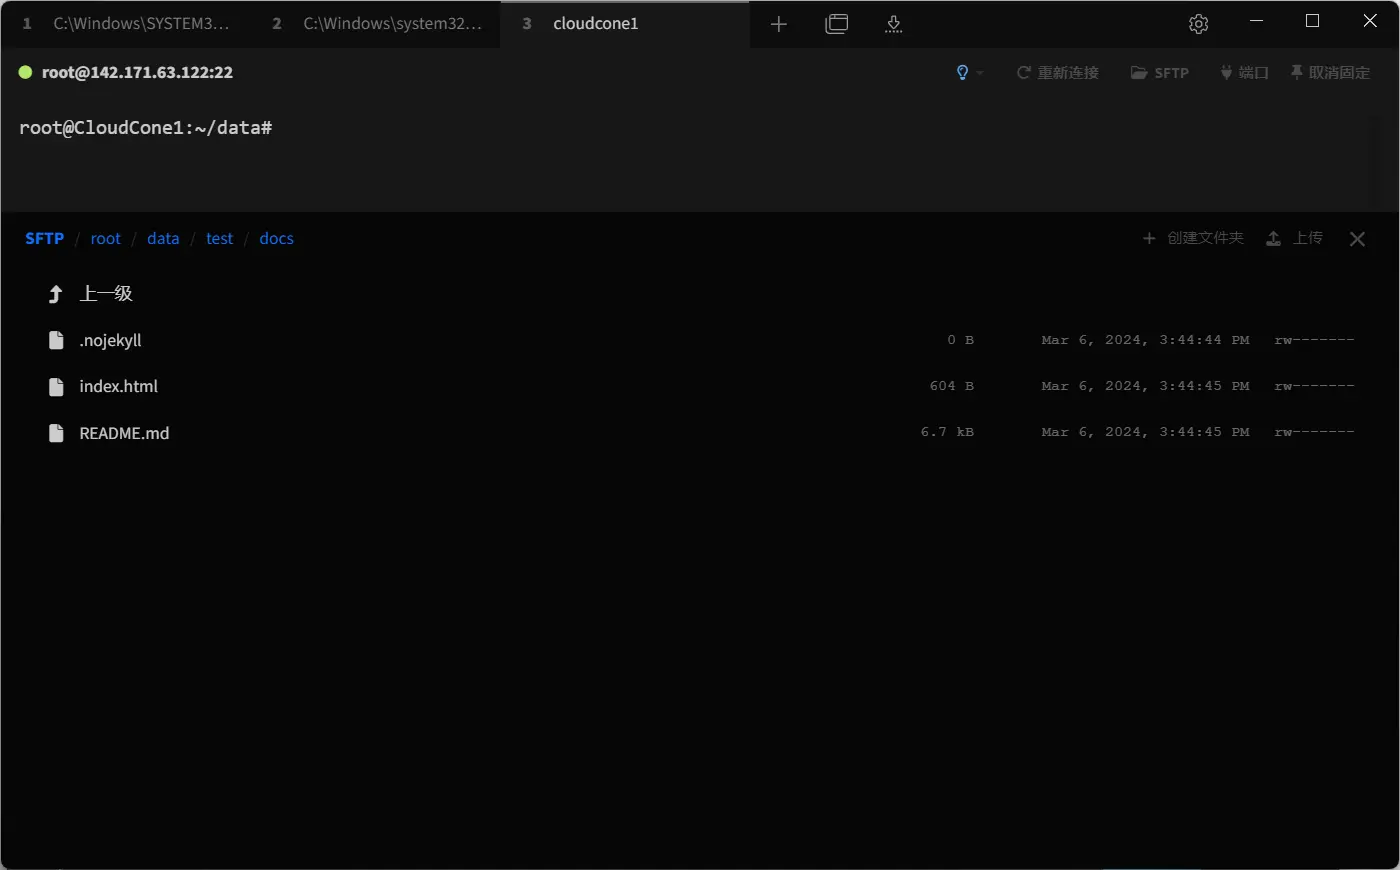 ### 4.2 运行 ```bash docsify serve ./docs/ -p 3000 ``` 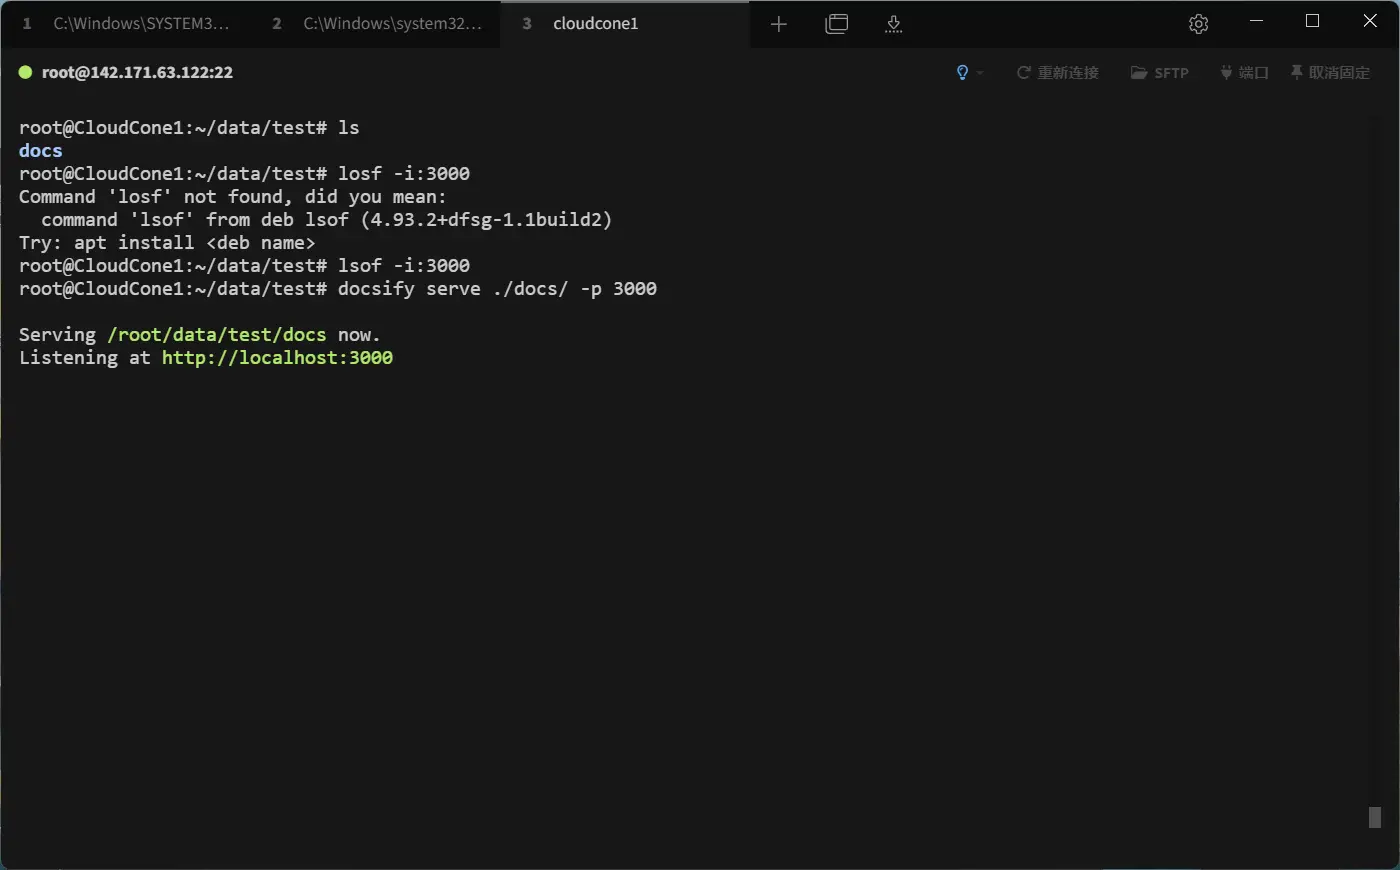 输入ip:端口即可访问  ## 5 .总结 部署想当简单,文档网页部署神器,同时支持多种的主题,提供的功能也较为丰富,我这边这是做一个很简单的搭建分享教程,其中的内容还有很多,大家有感兴趣的可以好好探索一下。 ## 1. docsify介绍 Docsify turns one or more Markdown files into a Website, with no build process required. Docsify 将一个或多个 Markdown 文件转换为网站,无需构建过程。 - No statically built html files 没有静态构建的 html 文件 - Simple and lightweight 简单轻便 - Smart full-text search plugin 智能全文搜索插件 - Multiple themes 多个主题 - Useful plugin API 有用的插件 API - Support embedded files 支持嵌入式文件 ## 2. 相关链接 - docsify Github:https://github.com/docsifyjs/docsify - docsify 官网:https://docsify.js.org/ - docsify中文文档:https://docsify.js.org/#/zh-cn// ## 3. 快速开始 ### 3.1 安装npm(省略) ### 3.2 本地安装docsify 全局安装docsify ```bash npm i docsify-cli -g ``` ### 3.3 创建项目 首先使用命令行工具,进去要创建项目的文件路径中 <img src="https://cdn.jsdelivr.net/gh/plfish199/picx-images-hosting/Docsify文档网站/2024-03-06-13-47-14-image.58h42iinjl.webp" title="" alt="" width="701"> 初始化项目 ```bash docsify init ./docs ``` ### 3.4 项目目录 - `index.html` 入口文件 - `README.md` 会做为主页内容渲染 - `.nojekyll` 用于阻止 GitHub Pages 忽略掉下划线开头的文件  我此处修README文件作为演示,我将我博客的一篇文章copy过来。  ### 3.5 本地运行测试 ```bash docsify serve docs ``` 访问http://localhost:3000进行查看  ## 4.VPS(服务器中运行测试) 可以自己去构建docker进行运行,也可以自行安装docsify服务。本人这里采用安装docsify服务进行测试。 ### 4.1 上传文件  ### 4.2 运行 ```bash docsify serve ./docs/ -p 3000 ```  输入ip:端口即可访问  ## 5 .总结 部署想当简单,文档网页部署神器,同时支持多种的主题,提供的功能也较为丰富,我这边这是做一个很简单的搭建分享教程,其中的内容还有很多,大家有感兴趣的可以好好探索一下。 打赏: 微信, 支付宝 标签: VPS 本作品采用 知识共享署名-相同方式共享 4.0 国际许可协议 进行许可。